


Double-needle stitching means two parallel rows of stitching run along a seam instead of one, and it’s the detail that separates a shirt that survives two years of washing from one that unravels at the hem by month three. Reach for it in everyday tees, workwear, and anything you’ll wash weekly. Skip the requirement only if you’re chasing period-accurate vintage, where a single stitch line is part of the look. Check the hem and cuffs first, then confirm the fabric weight matches the job.
TL;DR:
- Double-needle stitching uses two parallel rows of stitches that run approximately ⅛ inch apart, mainly on hems, cuffs, and seams subjected to stress.
- A stitch density of 8 to 10 stitches per inch optimally balances seam durability and fabric drape, with higher or lower densities compromising flexibility or strength.
- Properly identifying double stitching involves close-up inspection for two evenly spaced lines, a hem depth of at least ½ inch, and inside-out visibility of the stitches.
- Double stitching significantly extends shirt lifespan by providing a backup if one line of stitches fails, especially on lighter fabrics like cotton or bamboo blends.
- For home sewing, a standard machine with a twin needle, correct tension, and testing on scrap fabric ensures durable double-needle hems that withstand repeated washes.
Table of Contents
- What Is Double Needle Stitching on a Shirt?
- How Do You Spot Double-Needle Stitching in Photos or in Person?
- Does Double Stitching Actually Make a Shirt Last Longer?
- How Do You Sew a Double-Needle Hem at Home?
- What Should You Check Before Buying a Double-Stitched Shirt?
- What Do Shop-Proven Quality Checks Actually Look Like?
- When Do We Recommend Double-Needle Construction, and When Doesn’t It Matter?
- The Complesso Tee: Built Around This Exact Checklist
- Sources
What Is Double Needle Stitching on a Shirt?
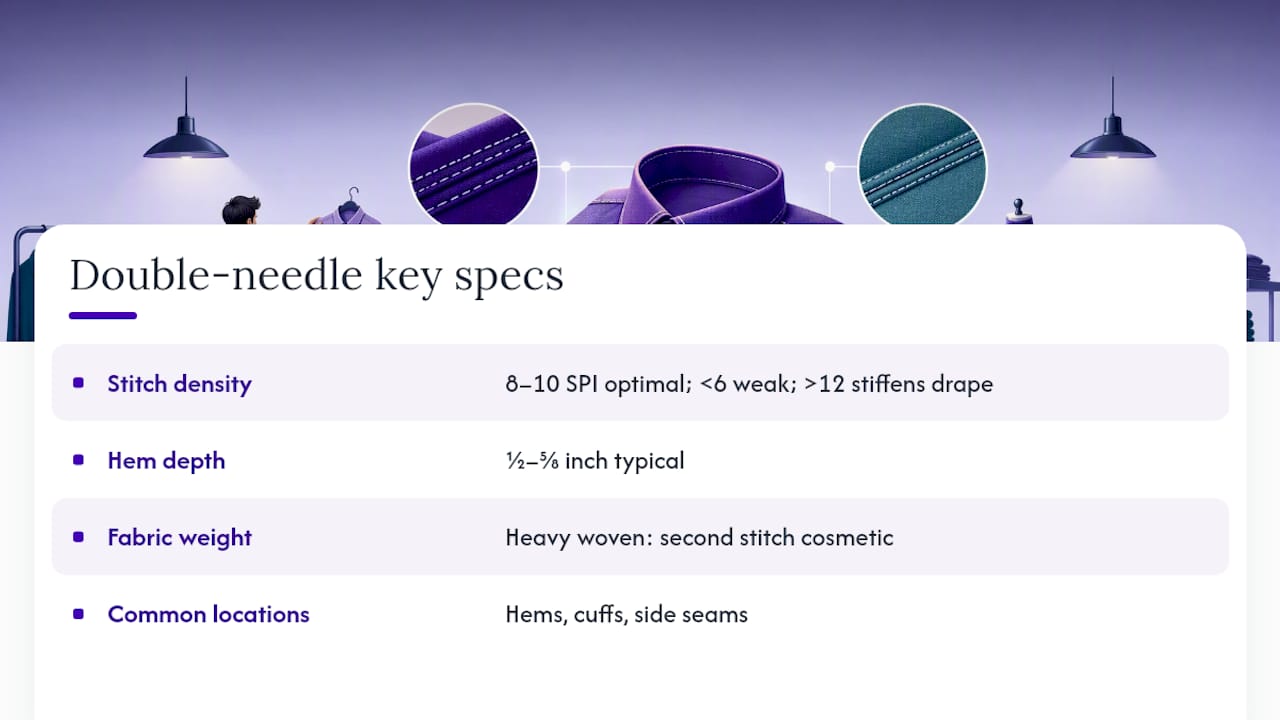
Double-needle stitching puts two straight rows of stitching roughly ⅛ inch apart, sewn in a single pass with a twin needle threaded on one machine. You’ll find it most often on hems, cuffs, and side seams, the spots that take the most stress from pulling, stretching, and repeated washing. It’s become the default finish on most modern tees and dress shirts because it adds real seam redundancy without much extra cost to produce, according to apparel industry guidance on double-stitch construction.
A few numbers matter more than most shoppers realize. Stitch density between 8 and 10 stitches per inch (SPI) hits the sweet spot: drop below 6 SPI and seams weaken, push past 12 and the fabric stiffens where it should drape. Hem depth typically runs ½ to ⅝ inch. On heavy woven flannels or canvas work shirts, the fabric itself carries so much structural strength that a second stitch row becomes mostly cosmetic rather than functional.
How Do You Spot Double-Needle Stitching in Photos or in Person?
Product photos lie by omission more than by outright deception. A blurry, low-angle hem shot is often hiding something.
Here’s what to check before you trust a listing or a rack:
- Zoom into the hem. You should see two distinct, evenly spaced lines, not one thick line or a single wavy row that a wide-angle photo tries to pass off as double stitching.
- Measure the hem depth. Anything shallower than ½ inch on a casual tee is a shortcut, not a feature.
- Feel the seam. A properly double-stitched hem has a slight, even stiffness across its full width, not soft in spots and rigid in others.
- Flip it inside out. Two parallel rows should be visible on the inside exactly as they are on the outside, per the visual inspection standard from Alibaba’s apparel guide.
- Read the product copy critically. “Reinforced seams” means nothing without a photo. “Double-needle hem, ⅝ inch depth” tells you the manufacturer actually measured something.
A cheap magnifier or your phone’s macro lens setting reveals more than any product description ever will. Our guide to identifying quality dress shirt stitching walks through the same checks on tailored shirts, where the stakes for a sloppy hem are even higher.
Does Double Stitching Actually Make a Shirt Last Longer?
Yes, and the mechanism is simple: two rows of stitching give a seam a backup if one line fails. A single dropped stitch or a snagged thread on a single-stitch seam can unravel an entire hem in one wash cycle. On a double-stitched seam, the second row holds while you get the shirt to a needle and thread, according to ThriftCon’s comparison of single and double stitch construction.
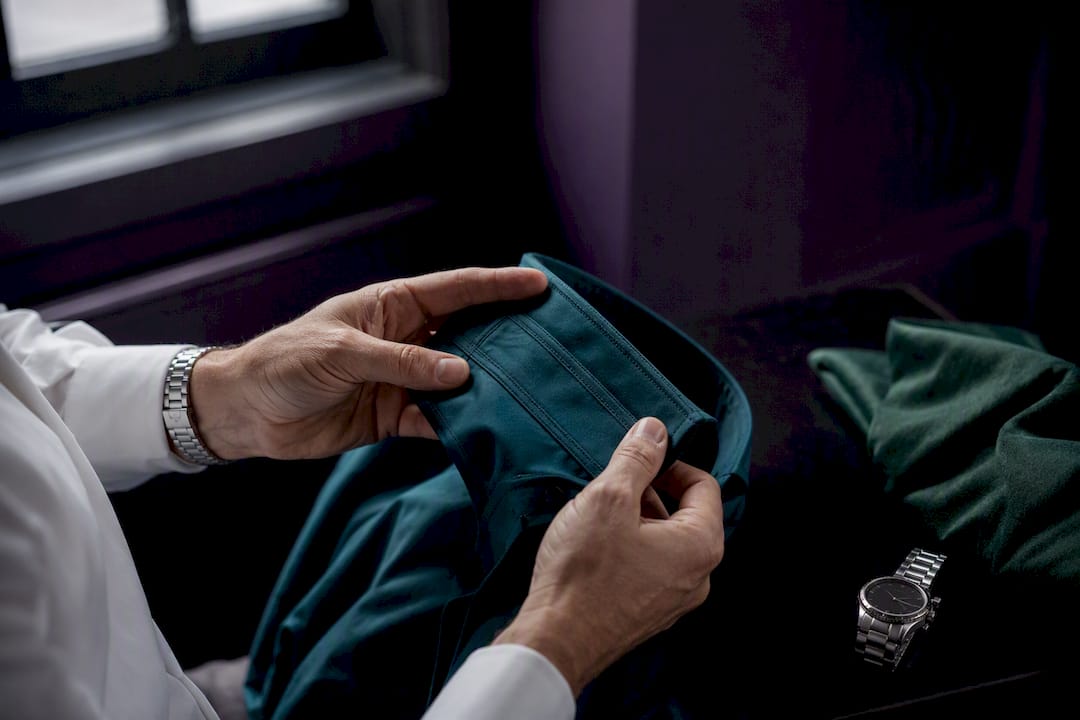
Where this matters most is on lighter knits, roughly 140 to 200 gsm, the range most cotton and bamboo-blend tees fall into. Lighter fabric stretches more under stress, so seam redundancy earns its keep. Heavier woven fabrics like twill or canvas need it less, since the material itself resists tearing.
What double stitching does not do: it won’t soften a stiff fabric, prevent shrinkage, or fix a bad fit. Shoppers sometimes treat stitch type as a stand-in for overall garment quality, but a well-stitched hem on cheap, thin cotton is still a cheap shirt. Check fabric weight and construction together, never stitch count alone.
How Do You Sew a Double-Needle Hem at Home?
You don’t need an industrial machine for this. A standard home sewing machine with a twin needle attachment handles it fine, and once you’ve done it twice, it becomes routine.
What you’ll need:
- A twin needle sized for your fabric (a stretch or ballpoint twin needle for knits, standard for wovens)
- Two spools of thread on top, one bobbin thread below
- A seam gauge or ruler for consistent hem depth
- A scrap of the same fabric to test on first
The workflow:
- Thread both top spools separately through the machine’s tension guides, keeping them from crossing.
- Set stitch length to roughly 8 to 10 SPI, matching the density range that balances durability against fabric flexibility.
- Fold and press your hem to your target depth (½ to ⅝ inch for most tees).
- Sew slowly along the fold, keeping the fabric edge steady against your seam gauge.
- Check the underside. You want a zigzag bobbin stitch linking the two top rows, which is what gives the seam its stretch and strength.
- Wash the test scrap once before committing to the real garment, since some fabrics pucker only after that first cycle.
Pro Tip: When hemming knits, swap in a stretch twin needle and lengthen your stitch slightly before you touch the actual garment. A rounded ballpoint tip slides between knit fibers instead of piercing and breaking them, which is the single biggest cause of puckering on jersey and interlock fabrics.
If your lines come out uneven, your fabric feed is probably too fast for the twin needle’s tension load. Slow down and let the machine set both rows evenly. For the needles themselves, Schmetz’s double embroidery needles are a reliable, widely stocked option worth keeping in your sewing kit.
What Should You Check Before Buying a Double-Stitched Shirt?
Run through this before you add anything to cart:
- Fabric weight listed in gsm. No number usually means no real quality control behind the label.
- Hem depth stated explicitly. ½ inch minimum for casual wear.
- SPI or stitch density mentioned, even loosely, in the product description.
- Thread type disclosed (polyester-cotton blends resist snapping better than pure cotton thread).
- Close-up photos of the hem and cuff, not just the shirt on a model from ten feet away.
- Reviews mentioning seam splitting or fraying, which is the clearest red flag a listing’s copy will never admit to.
A price that seems too low for the fabric weight claimed is usually the tell. Stitch quality is one part of a bigger picture that includes fit, collar construction, and how thread count actually affects a shirt’s feel. Weigh all of it together, not stitching in isolation.
What Do Shop-Proven Quality Checks Actually Look Like?
Giuseppe, who’s covered shirt construction across several of Moreciandco’s guides, keeps his checklist short: hem depth first, stitch spacing second, thread tension third. If any one of those looks off in a close-up photo, the other two rarely save the shirt.
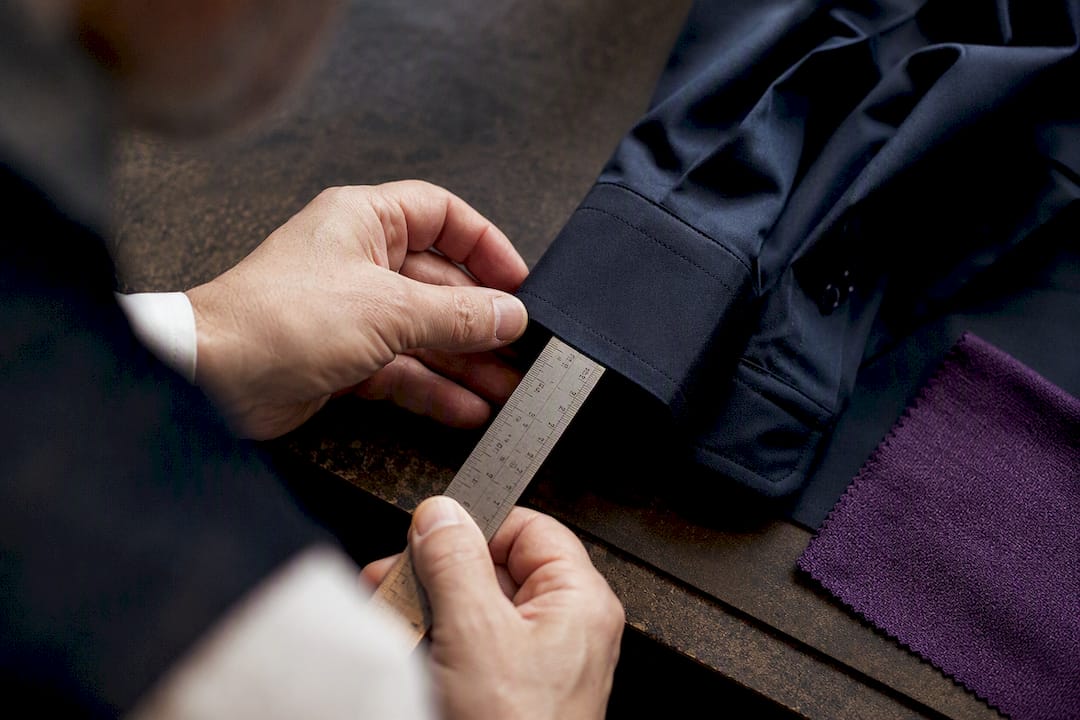
Before a garment gets listed, the practical check is the same one described above: flip the hem inside out, measure it, and look for two clean, parallel rows without puckering. It’s a five-second check that catches most of the corners manufacturers cut. For readers who want to go deeper on construction details beyond stitching, the placket guide covering why dress shirts have plackets is a good next read.
When Do We Recommend Double-Needle Construction, and When Doesn’t It Matter?
Double-needle stitching is our default recommendation for anyone buying shirts to wear and wash regularly. It’s the seam construction that holds up to a real routine: gym bags, work weeks, travel.
Where it matters less: hunting for genuine vintage tees, where single-stitch construction is part of what collectors are paying for, not a flaw to correct. If you’re shopping for that ultra-soft, broken-in drape instead of daily durability, weigh fabric hand over stitch count. Match the construction to the job the shirt actually has to do.
— Giuseppe
The Complesso Tee: Built Around This Exact Checklist
If you’ve read this far checking hems and counting stitch rows, you already know what to look for, and the Complesso Tee was built to pass that exact inspection. It’s cut from a bamboo-cotton blend that lands in the fabric weight range where double-needle seams do the most work, with double-needle stitching at the hem and cuffs instead of a single row that gives out after a few wash cycles.
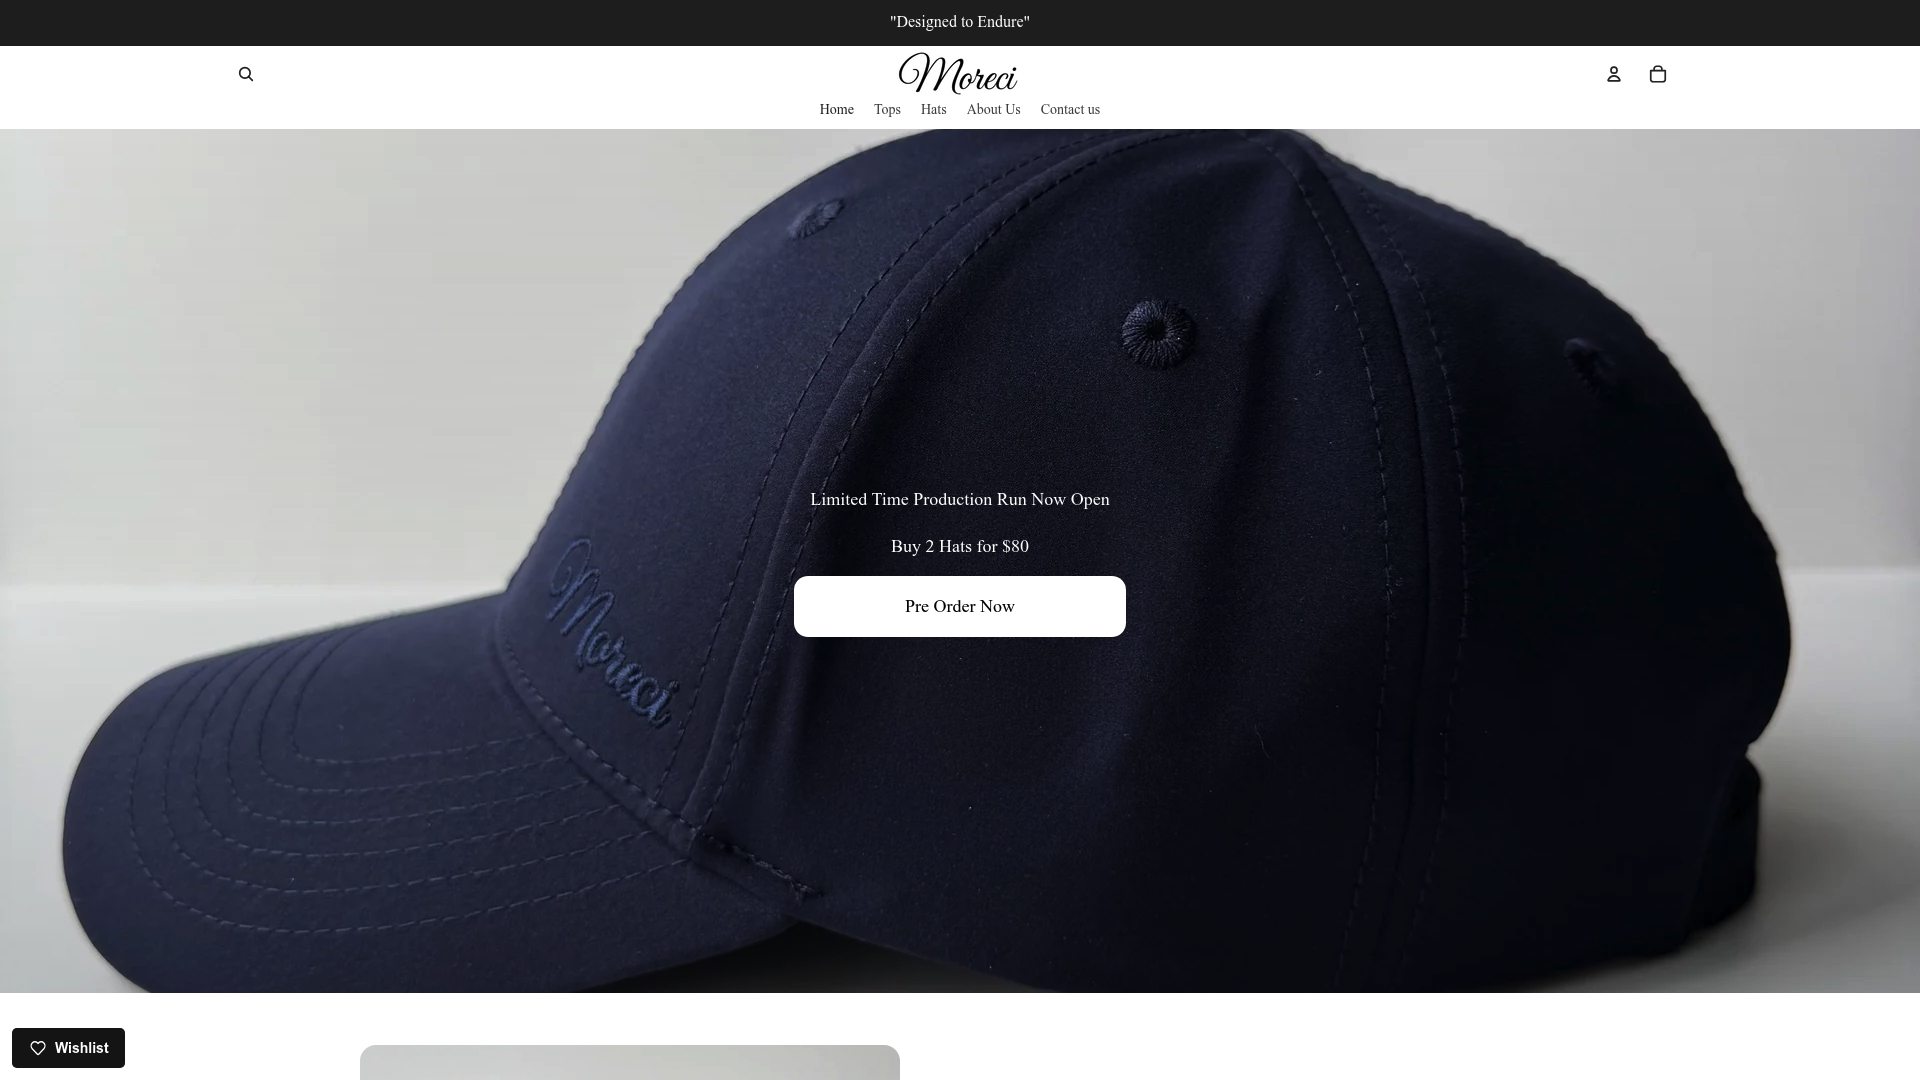
The product page shows close-up shots of the hem construction, not just a model shot from across a room, along with care instructions so the stitching and fabric both hold up wash after wash. It’s made in Portugal, and it sits inside the broader Complesso Collection if you want to compare it against other pieces built the same way. Check the hem photos yourself, then order your size directly from Moreciandco.
Sources
- Double Stitch Shirt Guide: How to Choose Wisely
- The Differences Between Single Stitch and Double Stitch – ThriftCon
- Custom Shirt Sewing & Finishing Options — Double Needle Stitching